How to Install Hardwood Floors: A Comprehensive Guide
Introduction
Installing hardwood floors represents a transformative home improvement that enhances both aesthetic appeal and property value. Whether you're replacing existing flooring or upgrading from carpet or vinyl, the installation process involves numerous critical steps that influence your floor's appearance, performance, and longevity.
Understanding the Hardwood Installation Journey
Before embarking on the installation journey, it's essential to understand the process, including the necessary preparation, tools, and materials required for a successful installation. A properly installed hardwood floor will stay level, resist moisture, and maintain its stunning appearance even in challenging environments.
Step 1: Preparation and Planning
Preparing the subfloor is a crucial step in the hardwood floor installation process. Check for any imperfections, such as cracks or unevenness, and ensure the subfloor is level and clean. Next, choose the right installation method, such as nail-down or glue-down, and select the appropriate hardwood flooring products, including engineered or solid hardwood.
Step 2: Tools and Materials
Assembling the necessary tools and materials is a critical step in the installation process. This includes a subfloor, underlayment, hardwood flooring planks, installation nails or staples, and a range of power tools, such as a miter saw, drill press, and nail gun.
Step 3: Laying the Subfloor and Underlayment
Begin by laying the subfloor and underlayment, ensuring they are properly aligned and level. This will provide a solid foundation for the hardwood flooring planks.
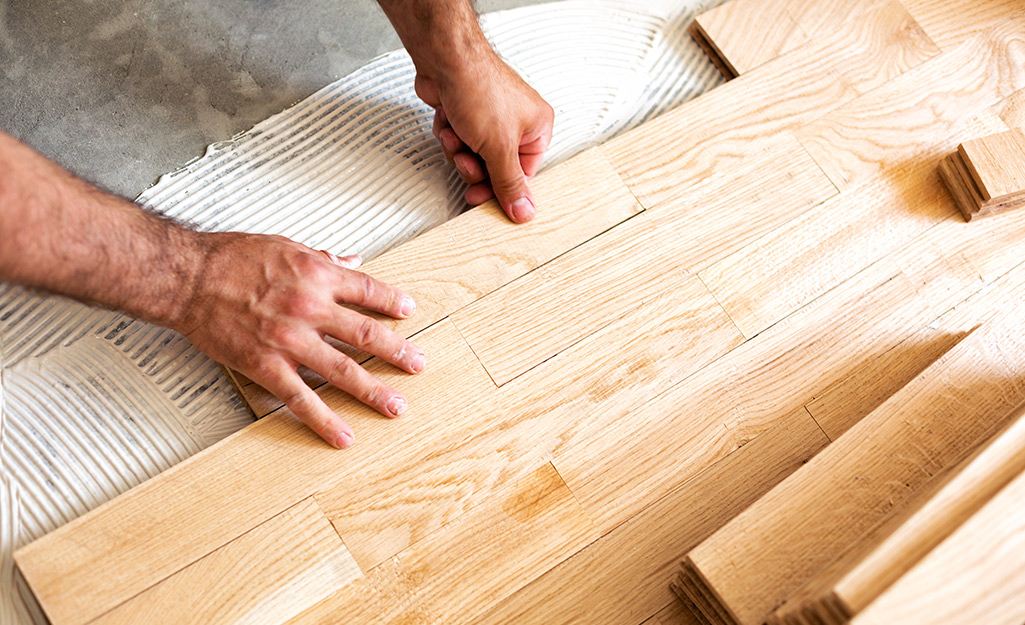
Step 4: Installing the Hardwood Flooring Planks
With the subfloor and underlayment in place, start installing the hardwood flooring planks, working from the center of the room and moving outward in a smooth, even motion. Use a chalk line to mark the plank's position, and tap the plank gently into place using a tapping block.
Step 5: Fastening the Hardwood Flooring Planks
Secure the hardwood flooring planks using the chosen fastening method, such as nails or staples. Be sure to use the correct fastening pattern and spacing to ensure a tight, secure fit.
Step 6: Final Fitting and Finishing
After completing the installation, perform a final fitting check to ensure the flooring planks are properly aligned and tightened. Apply any finishing touches, such as sanding or staining, to achieve the desired appearance.
Tools and Materials Needed
- Subfloor and underlayment
- Hardwood flooring planks
- Installation nails or staples
- Miter saw
- Drill press
- Nail gun
- Tapping block
- Chalk line
- Sanding equipment
- Staining equipment
Tips and Tricks for a Smooth Installation
- Choose the right installation method for your specific project.
- Prepare the subfloor and underlayment thoroughly before installing the hardwood flooring planks.
- Use the correct fastening pattern and spacing to ensure a tight, secure fit.
- Perform a final fitting check before applying finishing touches.
- Consider hiring a professional if you're unsure about any aspect of the installation process.
Conclusion
Installing hardwood floors is a significant home improvement project that requires patience, precision, and the right materials. By following these steps and tips, you can achieve a stunning, long-lasting hardwood floor that enhances both your home's aesthetic appeal and property value.
Whether you're a seasoned DIY expert or a homeowner looking to upgrade your space, this comprehensive guide on how to install hardwood floors will provide you with the essential knowledge and skills needed to complete the project with confidence and success.


 | Floor & Decor")
