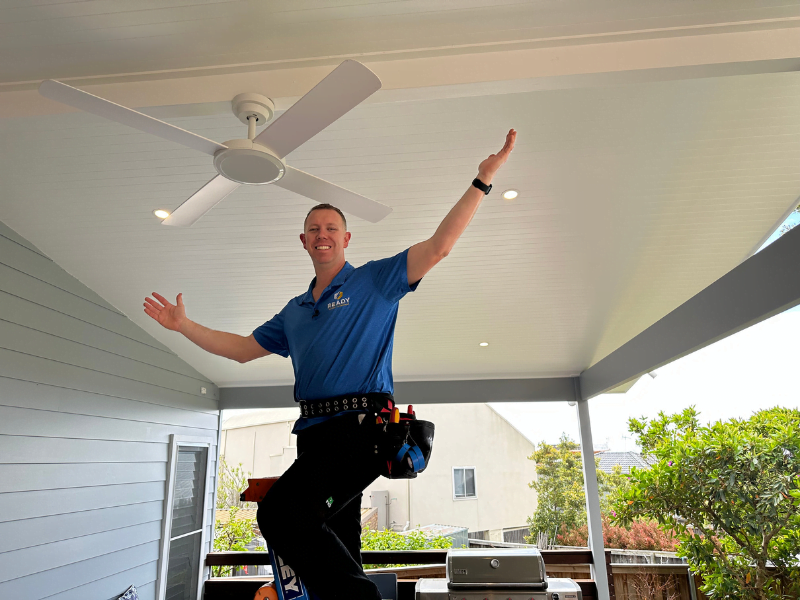
Installing an Outdoor Ceiling Fan: A Comprehensive Guide
Installing an outdoor ceiling fan is a great way to enhance the comfort and usability of your patios, porches, and decks. By providing gentle air circulation, these fans can mitigate heat, deter insects, and create a more pleasant outdoor environment. However, proper installation is crucial for safety and optimal performance. In this article, we will guide you through the process of installing an outdoor ceiling fan and explore the importance of choosing the right model for your outdoor space.
Types of Outdoor Ceiling Fans
When it comes to outdoor ceiling fans, there are several types to choose from. Here are some of the most popular options:
- Flush Mount Fans: These fans install flush against the ceiling and provide ample headroom. They are ideal for rooms with low ceilings that are less than the recommended eight feet.
- Standard Ceiling Fans: These fans are designed for standard installation and provide a stylish touch to your outdoor space.
- Outdoor Pole Fans: These fans are designed for high ceilings and can be installed with a pole extender.
Choosing the Right Ceiling Fan for Your Outdoor Space
When selecting an outdoor ceiling fan, consider the following factors:
- Wattage: Choose a fan that uses energy-efficient LED bulbs to save money on your energy bill.
- Finishing Style: Select a fan that matches your outdoor decor and style.
- Weather Resistance: Ensure the fan is designed to withstand moisture and humidity.
- Safety Features: Look for fans with electrical wire sensors and shut-off switches for added safety.
Step-by-Step Installation Guide
Before installing an outdoor ceiling fan, ensure you have the necessary tools and materials:
- Wiring diagram or instructions
- Wiring kit (including wire nuts and connectors)
- Mounting bracket and screws
- Fan and mounting hardware
- Electrical tester
Step 1: Disconnect Power and Remove Old Fixture
Switch off the power to the circuit at the main panel and verify it is off using an electrical tester. Remove the old light fixture or tap to gain access to the wiring.
Step 2: Mount the Wiring Bracket
Mount the wiring bracket to the joist, ensuring it is securely attached with screws.
Step 3: Install Fan Mounting Plate
Attach the fan mounting plate to the wiring bracket and ensure it is securely fastened.
Step 4: Hang the Fan
Hang the fan from the mounting plate and secure it with screws.
Step 5: Connect Wires
Connect the wires using wire nuts and ensure they are securely tightened. If necessary, add wire connectors.
Step 6: Install Fan Blades
Install the fan blades and secure them in place using the provided screws.
Step 7: Test the Fan
Turn on the power and test the fan to ensure it is working properly.
Outdoor Ceiling Fan Installation Costs and Prices
The cost of an outdoor ceiling fan can vary depending on the model, features, and installation costs. Here is a breakdown of estimated prices:
Materials: $50-$200 Installation: $100-$300 Total: $150-$500
Conclusion
Installing an outdoor ceiling fan is a straightforward process that can enhance the comfort and usability of your patios, porches, and decks. By choosing the right fan for your outdoor space and following the step-by-step installation guide, you can enjoy a cooler and more pleasant outdoor environment.
Additional Tips and Considerations
Before installing an outdoor ceiling fan, consider the following:
- Consult a professional if you are unsure about any part of the installation process.
- Ensure the fan is designed for damp or wet locations, depending on your outdoor space.
- Regularly maintain and clean the fan to ensure optimal performance.


:strip_icc()/bhg-outdoor-ceiling-fans-test-allmodern-56-inch-michelle-edelbaum-10-1a33e4238d63465dbc0997d86aae2ad5.jpeg "How To Mount And Install An Exterior Ceiling Fan?")


