Drywall Joint Compound Repair Services: A Comprehensive Guide
Drywall joint compound repair services are essential in maintaining the integrity and aesthetic appeal of your home's walls and ceilings. Over time, drywall joints can crack, wear down, or become damaged, compromising the structural integrity of your building. In this article, we will explore the importance of drywall joint compound repair services, the different types of drywall joint compounds available, and the steps to follow for a smooth and professional finish.
Why Drywall Joint Compound Repair Services are Necessary
Drywall joint compound is a crucial element in the finishing process of drywall. It is used to cover up the seams and joints in the drywall, creating a smooth and even surface. However, over time, the joint compound can crack, become damaged, or wear down, requiring repair services. Failure to repair damaged drywall joints can lead to further damage, water leaks, and pest infestations, ultimately compromising the safety and comfort of your home.
Types of Drywall Joint Compounds
There are several types of drywall joint compounds available, each with its unique features and applications. Some of the most common types of drywall joint compounds include:
- Ready-mixed joint compounds: These compounds are pre-mixed and ready for immediate use.
- Set-fast joint compounds: These compounds set quickly, allowing for faster drying times and easier sanding.
- Crack-bridging joint compounds: These compounds are designed to bridge cracks and cracks for added strength and flexibility.
- Mold- and mildew-resistant joint compounds: These compounds are designed to resist mold and mildew growth, ideal for bathrooms and kitchen areas.
Steps to Follow for a Smooth and Professional Finish
Repairing drywall joints requires patience, skill, and attention to detail. Here are the steps to follow for a smooth and professional finish:
Step 1: Assess the Damage
Before starting the repair process, assess the damage to determine the extent of the damage and the type of repair needed.
Step 2: Prepare the Area
Clear the area around the damaged joint, covering floors, furniture, and other surfaces with drop cloths or plastic sheets.
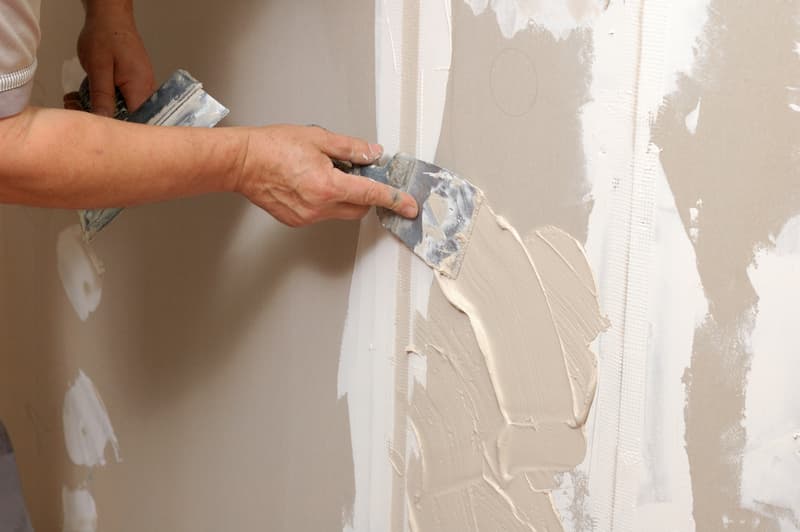
Step 3: Apply Joint Compound
Apply a thin layer of joint compound to the damaged area, using a putty knife or trowel. Press the joint tape into place, making sure it is smooth and even.
Step 4: Smooth and Sand
Allow the joint compound to dry, then smooth and sand it to a smooth finish, feathering it out to blend with the surrounding drywall.
Step 5: Prime and Paint
Prime the repaired area with a coat of primer, followed by a coat of paint to match the surrounding area.
Expert Drywall Joint Compound Repair Services
While DIY drywall repair services can be a cost-effective option, hiring an expert drywall joint compound repair service can ensure a seamless and professional finish. A professional drywall repair service has the necessary skills, equipment, and experience to tackle even the most complex drywall repair jobs, ensuring that your home's walls and ceilings are safe, secure, and aesthetically pleasing.
Conclusion
Drywall joint compound repair services are essential in maintaining the integrity and aesthetic appeal of your home's walls and ceilings. By understanding the types of drywall joint compounds, following the steps to a smooth and professional finish, and hiring an expert drywall joint compound repair service, you can ensure that your home remains safe, secure, and beautiful for years to come.


/pov-hands-at-work-559442849-583bb17a5f9b58d5b171bd46.jpg "Buy Drywall Joint Compound for Flawless Wall Repairs | Lowe's")


