Setting Up a G Router for a Large Network: A Comprehensive Guide
When it comes to setting up a wireless network in a large home or office, choosing the right router is crucial. A good-quality G router can help you achieve a stable and fast internet connection throughout your entire network. In this article, we will walk you through the process of setting up a G router for a large network, including selecting the right router, configuring the settings, and optimizing your wireless network for maximum performance.
Choosing the Right G Router
In order to set up a G router for a large network, you need to choose a router that can handle a high volume of traffic. When selecting a G router, consider the following factors:
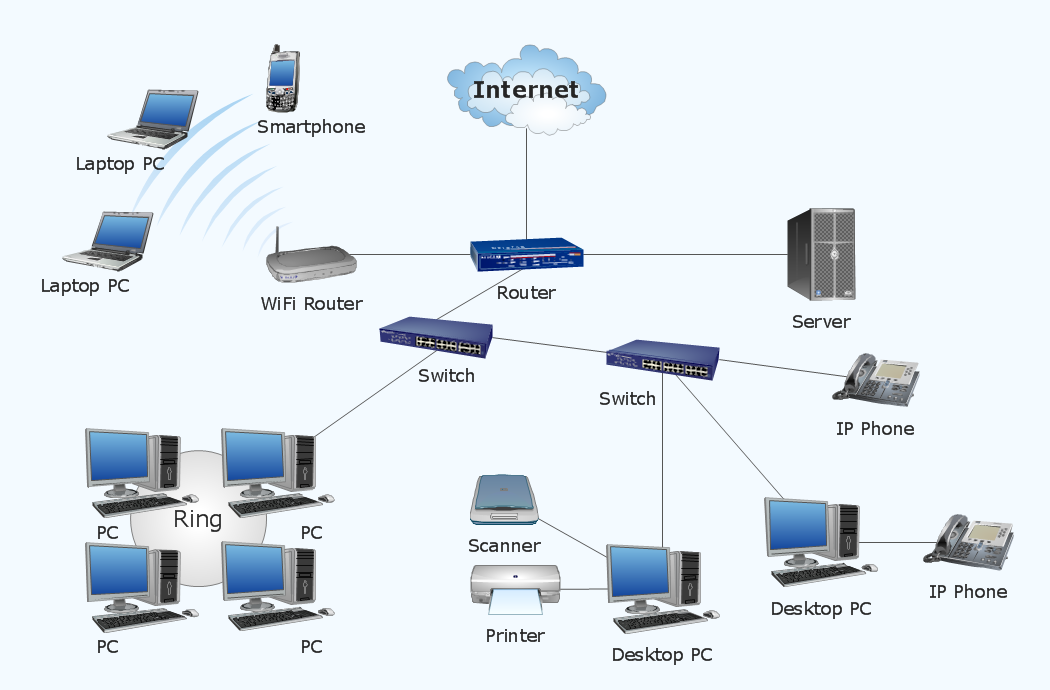
- Number of Devices:** Choose a router that can connect multiple devices at the same time. A G router with a high number of Ethernet ports (at least 4-5) and a large coverage area (around 3,000-4,000 square feet) is ideal for large networks.
- Wireless Standards:** Ensure the router supports the latest wireless standards (802.11ac or 802.11ax) for optimal performance.
- Range and Coverage:** Opt for a router with a long range and a strong signal to reach all areas of your network.
- Mu-Mimo:** Multiple-Input Multiple-Output (MU-MIMO) technology allows multiple devices to connect to the router simultaneously without any slowdowns.
- Good Channel Support:** Choose a router that supports the 2.4 GHz and 5 GHz frequency bands for better channel diversity.
Setting Up Your G Router
Once you have chosen the right G router, it's time to set it up. Here's a step-by-step guide:
Step 1: Connect the G Router to the Modem
Start by connecting the G router to the modem. Normally, you'll have to connect the router to the modem using an Ethernet cable. Make sure the power cord is securely plugged into a nearby power outlet and the modem is turned on.
Step 2: Power On the Router
Next, turn on the G router. Most modern routers have a simple user interface that can be accessed using a web browser. Look for the default IP address of the router and enter it into your web browser's address bar. You'll be prompted to enter a username and password. If you haven't changed the default credentials, use the ones provided by the manufacturer or change them immediately for security purposes.
Step 3: Configure the Router Settings
Once logged in, you'll be taken to the router's settings page. This is where you can configure the advanced settings for your G router. Here are some essential settings to consider:
- Router Name (SSID):** Change the default SSID to something more anonymous and secure.
- Password and Encryption:** Set up WPA2 or WPA3 encryption to protect your network.
- Advanced Wireless Settings:** Adjust the wireless channel, transmit power, and Quality of Service (QoS) settings for optimal performance.
- Parental Controls:** Set time limits, schedules, and content filtering to ensure kids' safety online.
Optimizing Your Wireless Network
After setting up your G router, you'll need to optimize your wireless network to ensure maximum performance and coverage. Here are some tips:
Tip 1: Set the Channel Width to 80 MHz
Changing the channel width to 80 MHz can improve your wireless network's capacity and extend the coverage area. This is especially useful in environments with devices operating in different channels.
Tip 2: Configure QoS Settings
Quality of Service (QoS) settings prioritize traffic and ensure critical applications, such as video conferencing, get sufficient bandwidth even in a congested network.
Tip 3: Use a WAP (Wireless Access Point)
Install a separate WAP (Wireless Access Point) to extend the coverage area and increase the signal strength of your G router.


