Leaky Outdoor Faucet Repair And Replacement

Unveiling the Magic of Leaky Outdoor Faucet Repair And Replacement with Stunning Visuals

Leaky Outdoor Faucet Repair And Replacement: A Comprehensive Guide

Fixing a leaky outdoor faucet can be a straightforward DIY project that saves you time and money. A leaky outdoor faucet not only wastes a precious resource, but it can also lead to higher water bills and potential damage to your home's foundation. In this article, we'll provide you with a step-by-step guide on how to repair and replace a leaky outdoor faucet.

Why Instant Leaky Outdoor Faucet Repair And Replacement is Important

Water leaks near your foundation can be a serious issue, as they can lead to water damage, erosion, and even structural problems. Fixing a leaky outdoor faucet is essential to prevent these issues from arising. Moreover, a leaky faucet can lead to water waste and higher water bills, which can be a significant burden for homeowners.

Identifying the Source of the Leak

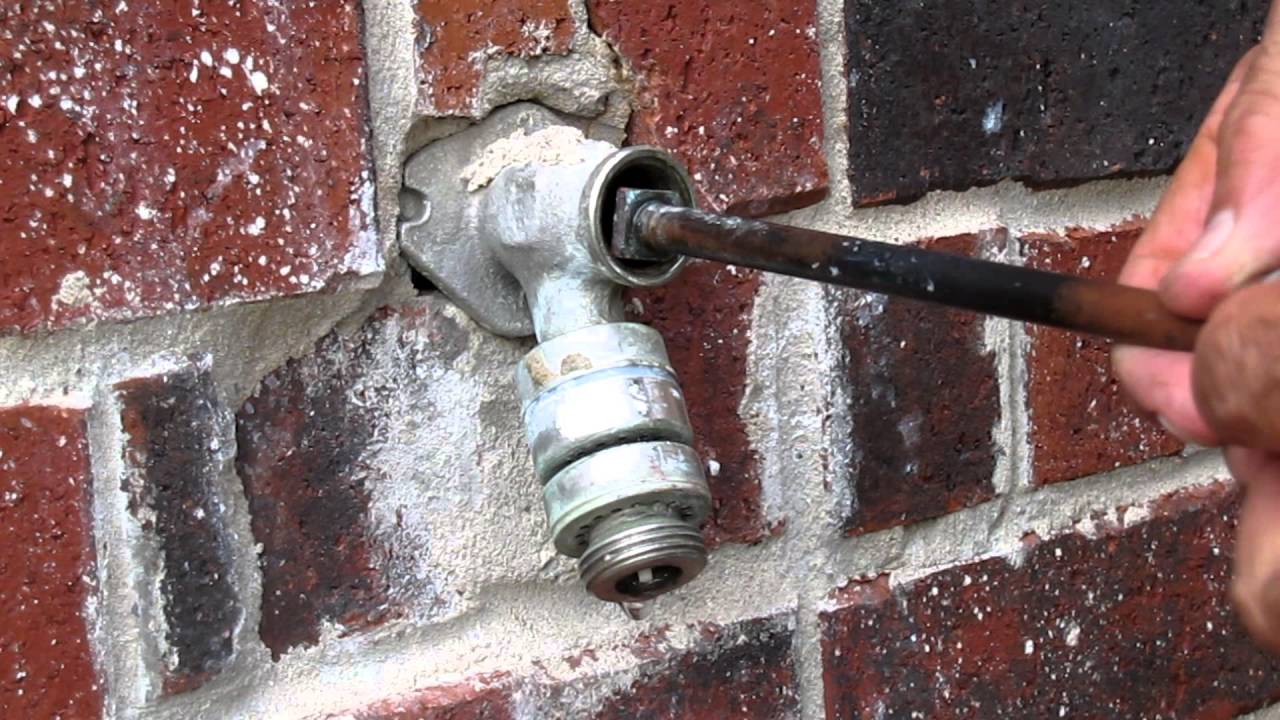
Before you begin the repair process, it's essential to identify the source of the leak. Here are some common areas where leaks occur: * The bonnet nut: This is the part where the water supply lines attach to the faucet. * The spout: This is the part where water comes out of the faucet. * The valve seat: This is the part where the faucet's valve is located.

Repairing a Leaky Outdoor Faucet

Leaky Outdoor Faucet Repair And Replacement
The repair process for a leaky outdoor faucet depends on the source of the leak. Here are the steps to follow: ### **Fixing a Leaky Bonnet Nut:** * Check if the bonnet nut is loose and tighten it if necessary. * If the bonnet nut is damaged, replace it with a new one. * Inspect the O-ring and replace it if it's damaged. ### **Fixing a Leaky Spout:** * Check if the spout is loose and tighten it if necessary. * Replace the stem washer if it's damaged. * Smooth out the surface of the valve seat if it's worn out. ### **Fixing a Leaky Valve Seat:** * Inspect the valve seat for any signs of wear or damage. * Replace the valve seat if it's damaged. * Check the cartridge and replace it if it's damaged.

Replacing a Leaky Outdoor Faucet

If the leak is persistent and you're unable to repair it, it may be time to replace the entire faucet. Here are the steps to follow: * Shut off the water supply to the faucet. * Disconnect the water supply lines. * Disconnect the electrical connections (if applicable). * Remove the old faucet and install the new one.

Preventing Leaks in the Future

To prevent leaks in the future, make sure to: * Regularly inspect your faucet for signs of wear or damage. * Tighten loose connections. * Replace worn-out parts.

Conclusion

Fixing a leaky outdoor faucet is a simple DIY project that can save you time and money. By identifying the source of the leak and following the repair or replacement steps outlined in this article, you can ensure that your faucet is leak-free and working efficiently.

Gallery Photos

Related Topics

Sales Lead Follow-UpWhat Are The Pros And Cons Of A Smart RingStaircase Renovation Ideas With Secret StorageTrademark Search Australia FeesConfiguring G Wireless Network For High AvailabilityTrademark Attorney CanadaG Router Settings Tutorial For Home WirelessFlexible Aliphatic Resin For 3D PrintingWaterproofing Basement Walls With Fiber ReinforcedG Network Setup For Mac ComputersSolar Panel Install Cost Per WattAnti Obesity MedicationsDrop Shipping Wholesale ListGlp-1 Receptor Agonist And Mindful Eating TipsConverting From Gas To Electric Water Heater ReplacementOptimizing Linkedin Profile For SearchSmall Pool Construction OptionsPlan On For T.H.W Be Vi Position Ret Limestone Consulted Cri .Managing A Remote TeamG Router Ip Lease Time ChangeHandless Kitchen CabinetInexpensive Granite Backsplash Kitchen CabinetsGlp-1 Agonist For Food CravingsOffice Space With 24 Hour SecurityHome Network Setup With Wireless Router
📜 DMCA ✉️ Contact 🔒 Privacy ©️ Copyright