Google Wi-Fi Network Setup Guides: A Comprehensive Guide for Home Wi-Fi Connectivity
In today's digital age, having a reliable and fast home Wi-Fi network is essential for streaming, browsing, and staying connected with loved ones. Google Wi-Fi network setup guides are designed to help you set up and manage your home network with ease. In this article, we will walk you through the process of setting up your Google Wi-Fi network and provide tips and tricks for optimizing your network performance.
Setting Up Your Google Wi-Fi Network
Setting up your Google Wi-Fi network is a straightforward process that can be completed in a few simple steps. Here's a step-by-step guide to help you get started:
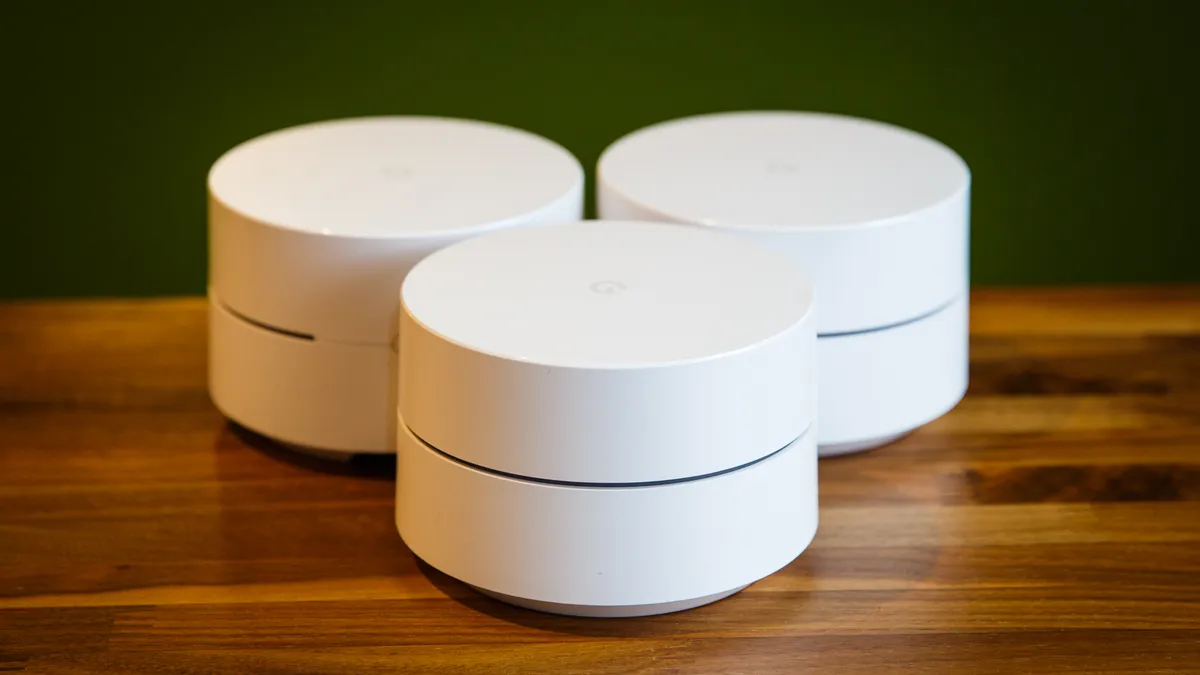
- Step 1: Unbox Your Google Wi-Fi Device - Carefully unbox your Google Wi-Fi device and remove any protective coverings or packaging materials.
- Step 2: Connect Your Device to Power - Plug in your Google Wi-Fi device to a power outlet and wait for it to boot up.
- Step 3: Download the Google Home App - Download the Google Home app from the App Store (for iOS devices) or Google Play Store (for Android devices).
- Step 4: Set Up Your Wi-Fi Network - Launch the Google Home app and follow the in-app instructions to set up your Wi-Fi network. You will need to create a Google account and follow the prompts to configure your network settings.
- Step 5: Add Additional Google Wi-Fi Devices - If you want to expand your Wi-Fi coverage, you can add additional Google Wi-Fi devices to your network. Simply follow the same setup process as before.
Optimizing Your Google Wi-Fi Network
Once you have set up your Google Wi-Fi network, there are several steps you can take to optimize its performance:
- Place Your Google Wi-Fi Device in a Central Location - Place your Google Wi-Fi device in a central location to ensure that it has a clear line of sight to all areas of your home.
- Use Quality of Service (QoS) Settings - Use the Google Home app to configure QoS settings, which allow you to prioritize certain devices or applications on your network.
- Update Your Google Wi-Fi Device Firmware - Regularly update your Google Wi-Fi device firmware to ensure that you have the latest security patches and features.
- Use a Wi-Fi Analyzer App - Use a Wi-Fi analyzer app to scan for nearby networks and identify any potential sources of interference.
Common Issues and Troubleshooting
Like any network, your Google Wi-Fi network may encounter issues from time to time. Here are some common issues and troubleshooting tips:
- Issue: Weak Network Signal - If you are experiencing a weak network signal, try moving your Google Wi-Fi device to a higher location or replacing it with a new device.
- Issue: Slow Network Speeds - If you are experiencing slow network speeds, try resetting your Google Wi-Fi device, checking for firmware updates, or using a Wi-Fi analyzer app to identify potential sources of interference.
- Issue: Device Connection Issues - If you are experiencing issues connecting to your network, try restarting your device, checking your network settings, or resetting your Google Wi-Fi device.
Conclusion
Setting up and optimizing your Google Wi-Fi network is a straightforward process that can be completed with a few simple steps. By following the tips and tricks outlined in this article, you can ensure that your network is running smoothly and efficiently. If you encounter any issues, don't hesitate to contact Google support for assistance.
Resources
For more information on setting up and optimizing your Google Wi-Fi network, check out the following resources:
By following these resources and tips, you can ensure that your Google Wi-Fi network is running at its best.


 - TechnoWifi")


 | Vision ...")
