Explore the World of Breadboard Mechanical Keyboard Kit Projects
Are you a DIY enthusiast looking to take your key-making skills to the next level? Do you want to create a unique and customized keyboard that stands out from the rest? Then, you've come to the right place! In this article, we'll delve into the exciting world of breadboard mechanical keyboard kit projects and guide you through the process of creating your very own custom keyboard.
The Basics of Breadboard Mechanical Keyboard Kit Projects
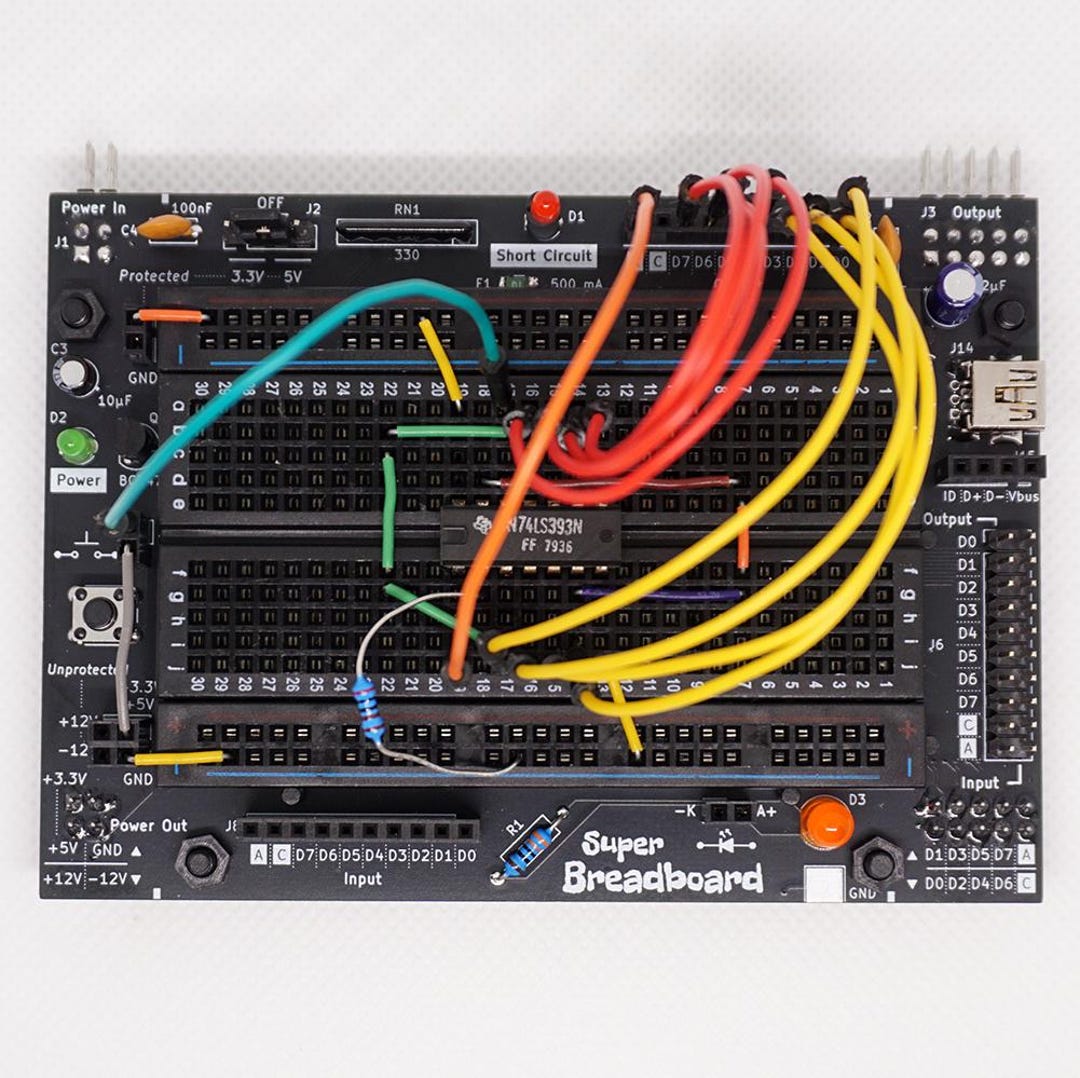
Building a breadboard mechanical keyboard kit project requires a bit of planning and experimentation, but with the right tools and materials, you can create a functional and customizable keyboard that meets your specific needs. The process involves choosing a keyboard layout, selecting the right mechanical switches, and assembling the circuitry. Breadboard keyboards have key matrices and diodes just like the big keyboards, making them a great starting point for DIY enthusiasts.
Choosing the Right DIY Kit
When selecting a breadboard mechanical keyboard kit project, the decisions you make will largely depend on your goals and preferences. Here are some key considerations to keep in mind:
- Size:** Decide on the size of your keyboard, whether you want a compact tenkeyless keyboard or a full-size keyboard with a number pad.
- Switches:** Mechanical switches are available in a range of types and actuation forces. Choose a switch type and force that suits your typing style and preferences.
- Key Cap Material:** Select keycaps that fit your theme and design aesthetic.
- RGB Lighting:** Add some flair with custom RGB lighting or opt for a minimalist look without it.
Designing and Building Your Keyboard
Once you've selected your DIY kit, it's time to start designing and building your keyboard. You can choose to build your keyboard from scratch using a custom PCB, or use a pre-made breadboard keyboard kit. Our QT Py boards are an excellent option for small microcontroller projects with a nice mechanical key that glows in any color of the rainbow. If you want a unique layout that nobody else has, you can build it from scratch using a comprehensive guide that covers everything from layout selection to PCB design and assembly.
Tools and Materials Needed
Before starting your breadboard mechanical keyboard kit project, ensure you have the necessary tools and materials:
- DIY Kit:** Your chosen breadboard keyboard kit, including switches, keycaps, and any additional components.
- Soldering Iron:** For assembling the circuitry.
- Desoldering Wick:** To remove any excess solder.
- Wire Cutters and Strippers:** For trimming and stripping wires.
- Mounting Screws and Stand-offs:** To secure the keyboard frame to the case.
Community and Resources
Breadboard mechanical keyboard kit projects have a vibrant community of enthusiasts who share their creations, designs, and expertise. Check out online forums, social media groups, and websites dedicated to keyboard enthusiasts and DIY projects. You'll find tutorials, kits, and resources to help you complete your project and stay up-to-date with the latest developments.
Conclusion
Building a breadboard mechanical keyboard kit project is a fun and rewarding experience that requires patience, experimentation, and creativity. With the right tools, materials, and resources, you can create a unique and functional keyboard that meets your specific needs. Whether you're a beginner or an experienced DIY enthusiast, this article has provided you with the knowledge and inspiration to start your journey into the world of custom keyboards. Join the community, choose your DIY kit, and get ready to create your dream keyboard!
Resources and Inspiration
Check out the following links to discover more breadboard mechanical keyboard kit projects and resources:


