Getting Started with Google Wi-Fi Configuration Process
Are you tired of experiencing slow and inconsistent Wi-Fi connectivity in your home? Look no further! Google Wi-Fi is the perfect solution to ensure seamless and reliable internet coverage throughout your entire home. In this article, we will guide you through the entire Google Wi-Fi configuration process, from unboxing to advanced features and troubleshooting tips.What is Google Wi-Fi?
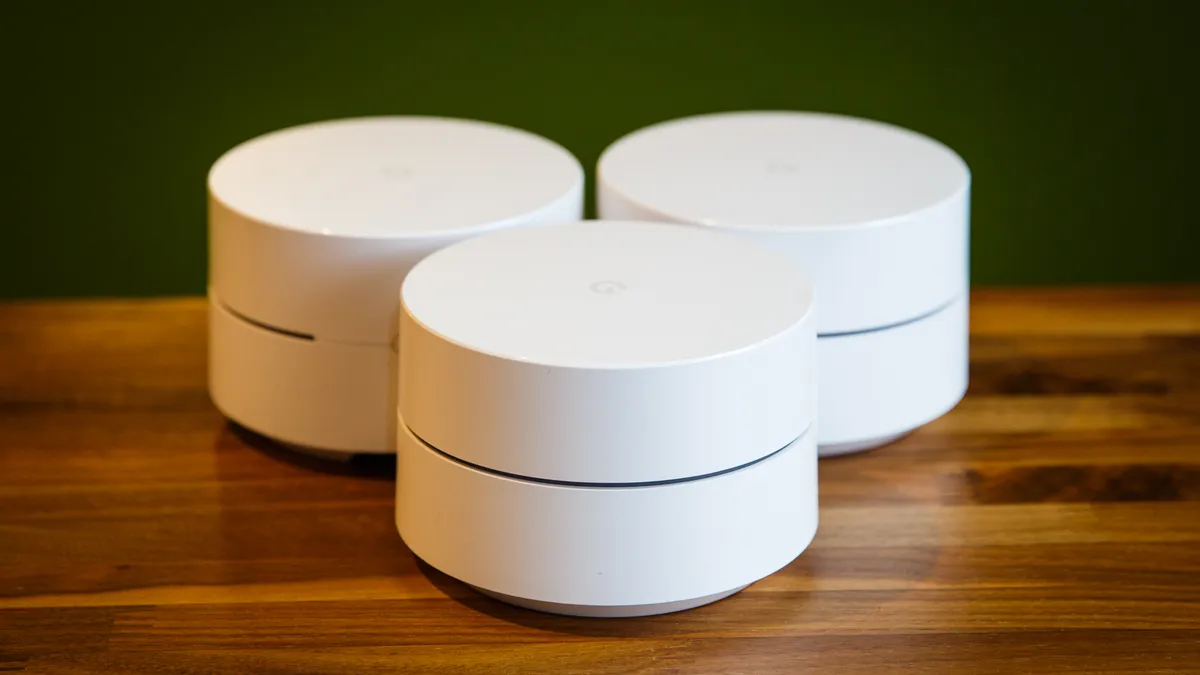
Google Wi-Fi is a mesh wireless system designed to provide fast, reliable, and consistent Wi-Fi coverage throughout your home. The system consists of a primary router and multiple points that work together to expand coverage and eliminate dead zones.Getting Started: Unboxing and Setup
Before we dive into the configuration process, make sure you have the following items: * A Google Wi-Fi primary router * One or more Google Wi-Fi points * A power source for each device * The Google Home app on your smartphone or tabletStep 1: Unbox and Place the Primary Router
Unbox your primary router and place it in a central location, ideally close to your modem and in plain view. Avoid placing the router near any objects that may obstruct its signal.Step 2: Connect the Power Cable
Plug in the power cable to your primary router. Make sure the router is not touching any other devices or objects that may cause interference.Step 3: Download and Install the Google Home App
Download and install the Google Home app on your smartphone or tablet. This app will guide you through the entire setup process.Step 4: Connect to the Network
Scanning the QR Code
Scan the QR code on the bottom of the Google Wi-Fi point using your smartphone or tablet. This will complete the setup process and connect your points to the network.Configuring Google Wi-Fi Advanced Features
Once you have completed the initial setup process, you can configure advanced features such as: *- Namaes and guest networks
- Parental controls
- Performance settings adjustments


 - TechnoWifi")


